
Marketing & Brand
Real Estate Photography Tips for Agents: How to Make Vancouver Island Listings Stand Out
Published August 2, 2026
In a market where most buyers begin their search online, your listing photos are the first — and often only — impression a property makes. On Vancouver Island, where buyers from Victoria to Calgary to Toronto browse MLS listings on their phones, the quality of your photography directly affects showing requests, days on market, and final sale price.
This guide covers practical real estate photography tips for agents, when to shoot yourself versus hiring a professional, and how to budget for listing photography as part of your business — regardless of which brokerage you join.
Why listing photography matters more than ever
The data is consistent across markets: listings with professional photography sell faster and often for more money than listings with poor or amateur images. Buyers scrolling through dozens of properties on their phones will skip a dark, cluttered, or poorly composed photo in under a second.
Strong listing photography:
- Increases click-through rates on MLS and portal listings
- Generates more showing requests from qualified buyers
- Reduces days on market by attracting interest immediately
- Supports higher perceived value — buyers associate quality photos with quality properties
- Strengthens your personal brand as a listing agent who invests in presentation
Weak photography does the opposite. A beautiful waterfront home in Sidney or a renovated character house in Fernwood can look unappealing with bad lighting, wide-angle distortion, or cluttered rooms. You are not just photographing a property — you are marketing it.
Prepare the property before you pick up a camera
The best photograph in the world cannot fix a messy, cluttered, or poorly staged home. Preparation is the highest-return investment in listing photography.
Before the shoot:
- Remove personal items, excess furniture, and countertop clutter
- Clean windows, mirrors, and reflective surfaces
- Turn on all lights — even during daytime shoots
- Open curtains and blinds to maximize natural light
- Mow the lawn, tidy landscaping, and remove cars from the driveway
- Hide garbage bins, hoses, and visual distractions
Send the seller a preparation checklist at least forty-eight hours before the shoot. For Vancouver Island properties, also clear moss from walkways, showcase outdoor living spaces, and ensure views are unobstructed.
Composition and technique fundamentals
Whether you are shooting with a smartphone or a DSLR, these principles improve every image:
Shoot wide, but not too wide — Ultra-wide lenses distort rooms and make spaces look unnaturally large. Buyers who visit and find a smaller space than the photos suggested feel misled. Use a moderate wide-angle (16–24mm equivalent) and shoot from corners to maximize room coverage.
Keep the camera level — Tilted horizons and crooked vertical lines look amateur. Use your camera's grid lines and level indicator.
Shoot at chest height — For interior rooms, camera height around four to five feet captures spaces naturally. Shooting from too high or too low distorts proportions.
Use natural light when possible — Schedule shoots during daylight hours. Open all blinds, turn on interior lights, and avoid shooting into bright windows without balancing the exposure.
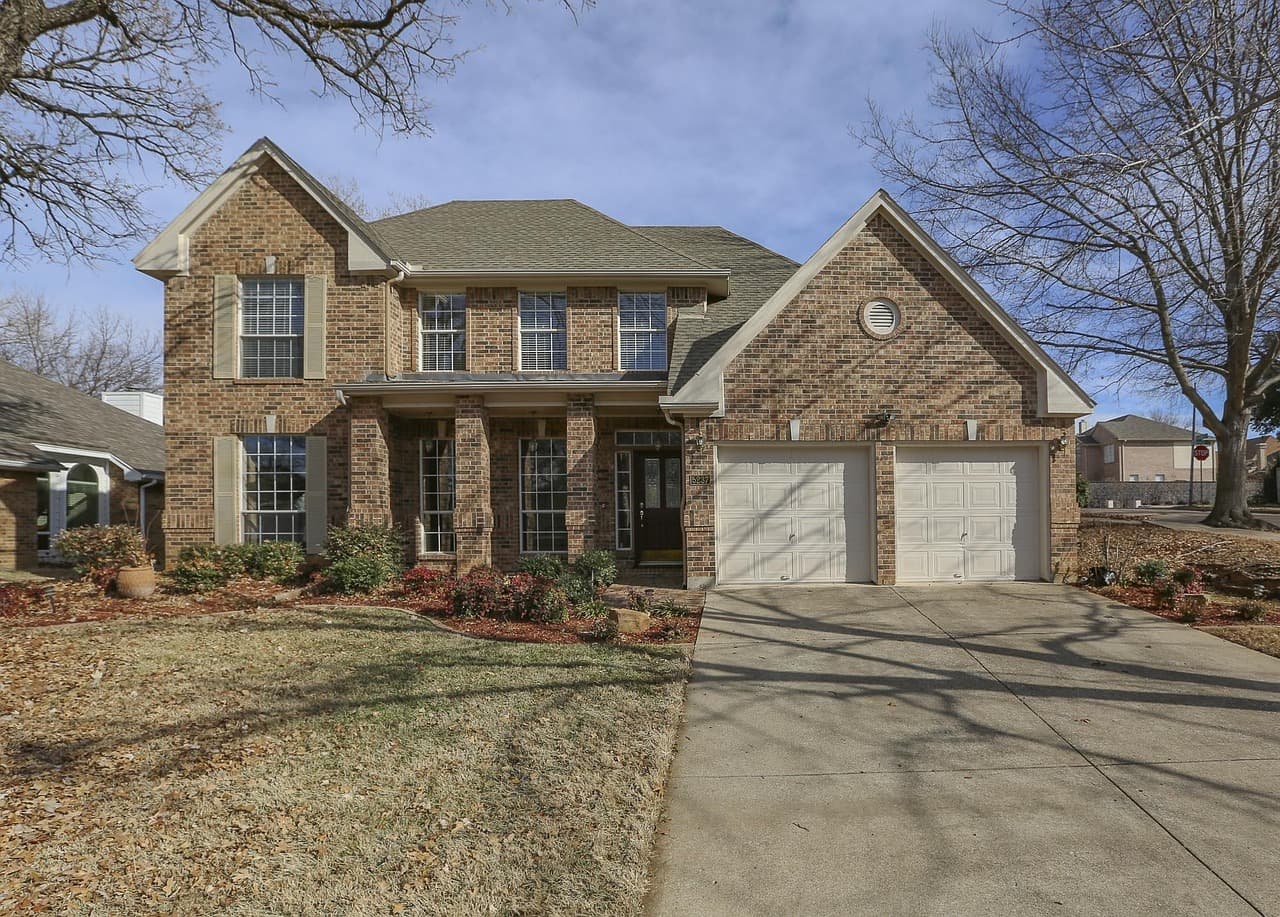
Lead with your best shots — The first photo in your MLS listing is your thumbnail on every portal. Make it count. Exterior front shots, stunning kitchens, and view photos typically perform best as lead images.
Shoot every important space — Buyers expect to see the kitchen, primary bedroom, main bathroom, living areas, and outdoor spaces. Do not skip rooms — buyers wonder what you are hiding.
Include lifestyle context — A photo of the backyard with the garden in bloom, the deck set for entertaining, or the neighbourhood trail nearby helps buyers envision living there. Vancouver Island's outdoor lifestyle is a selling point — show it.
Common photography mistakes agents make
Grey skies, cluttered rooms, over-edited HDR images, and neglected exterior shots are the most frequent problems. On Vancouver Island, also watch for moss on walkways, blocked water views, and outdated photos from a previous season that no longer represent the property.
When to hire a professional photographer
Professional real estate photography is an investment, not an expense. Hire a pro when:
- The property is at a price point where photography quality affects buyer perception
- You are listing a waterfront, view, or luxury property
- The home has challenging lighting (dark interiors, large windows, mixed light sources)
- You want drone aerials, twilight shots, or video walkthroughs
- Your own photography is not generating the showing activity the property deserves
- You are building a listing-focused business and need consistent, high-quality marketing
On Vancouver Island, professional photographers who specialize in real estate understand local property types — from downtown Victoria condos to Salt Spring Island farms. They bring equipment, editing skills, and experience that smartphone photography cannot match.
Working with in-house or preferred photographers
Many brokerages — including Pemberton Holmes — maintain in-house or preferred photographers agents can book for listings. That coordination is convenient: consistent quality, familiar with local property types, and one less vendor to source on a deadline.
Photography is still typically an agent business expense, the same as signage, staging, and print marketing. It is not usually bundled into your commission split. Budget for it on every listing the way you budget for gas, insurance, and association fees.
When evaluating a brokerage, ask how photography is arranged and what it costs — not whether it is "included." A brokerage that makes it easy to book professional photos saves you time; you still plan for the expense in your listing budget and seller conversations.
Integrating photos with your full marketing package
Photography is one piece of a listing marketing strategy. Maximize your investment by:
- Writing a compelling listing description that complements the photos — see our upcoming guide on how to write a listing description in BC
- Using photos across all channels — MLS, social media, print flyers, email campaigns, and your website
- Creating video slideshows or virtual tours from your photo set
- Refreshing photos if the property sits and seasons change
- Sharing behind-the-scenes content on social media to build your personal brand as a listing agent
New agents building their marketing skills can find training and support on our new agents page. Experienced listing agents looking for brokerage-level marketing infrastructure can explore our experienced agents page. Use our fee calculator to see whether your current commission structure leaves room to invest in the marketing that wins listings.
Ready to elevate your listing marketing?
Great photography is not a luxury on today's market — it is a baseline expectation. Vancouver Island buyers scroll past poor photos without a second thought, and sellers notice which agents make their homes look exceptional.
Pemberton Holmes agents can coordinate in-house photography for listings, alongside marketing templates and training on presentation standards. Plan for photography as a business expense — and treat it as an investment in every listing you take.
Learn more on our experienced agents page, or explore what we offer new agents building their marketing foundation on our new agents page.